Jetfloats have four connecting lugs. Each lug is distinctly marked with one, two, three, or four dots, ensuring the right assembly sequence. Single Jetfloats slide together to form one section of floating dock.
Assembling your Jetfloat is as easy as 1-2-3!
Think of them as Lego building blocks on water. Use your imagination to build configurations that best meet your needs.
Step 1

Step 2

Simply arrange the units so that the centre logo of each unit faces the same direction. This automatically places the dots in a counter-clock-wise sequence.
Step 3
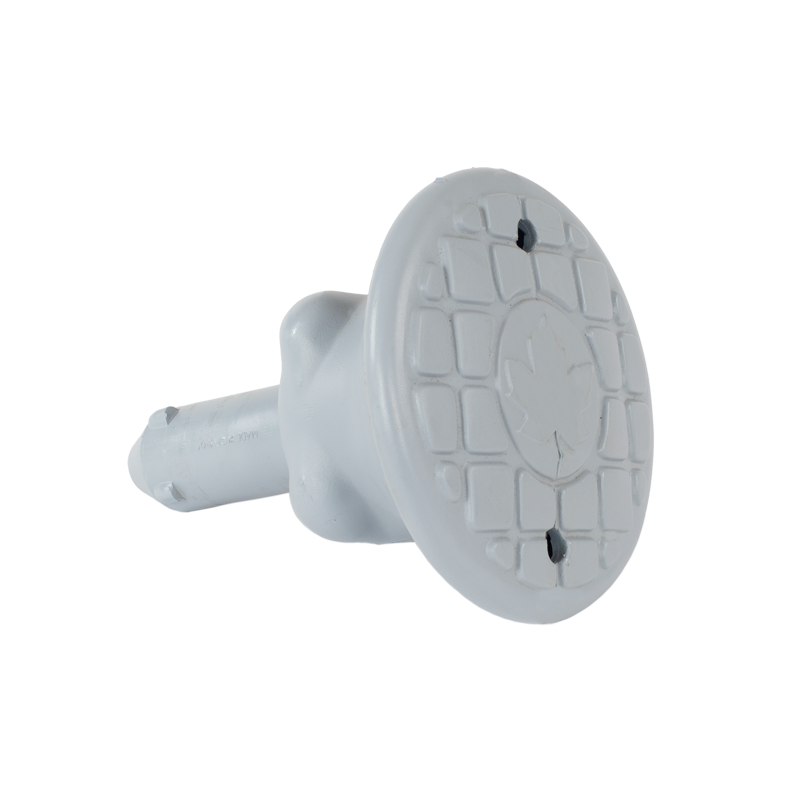
A connecting pin is inserted into the holes of the over-lapping lugs and locked into place. A 45° turn of the pin with the Jetfloat Assembly Key will lock or unlock the Jetfloats. (The dock can not be disassembled without the key.)